What to Check Before Hanging Holiday Lights on Your Roof and Gutters
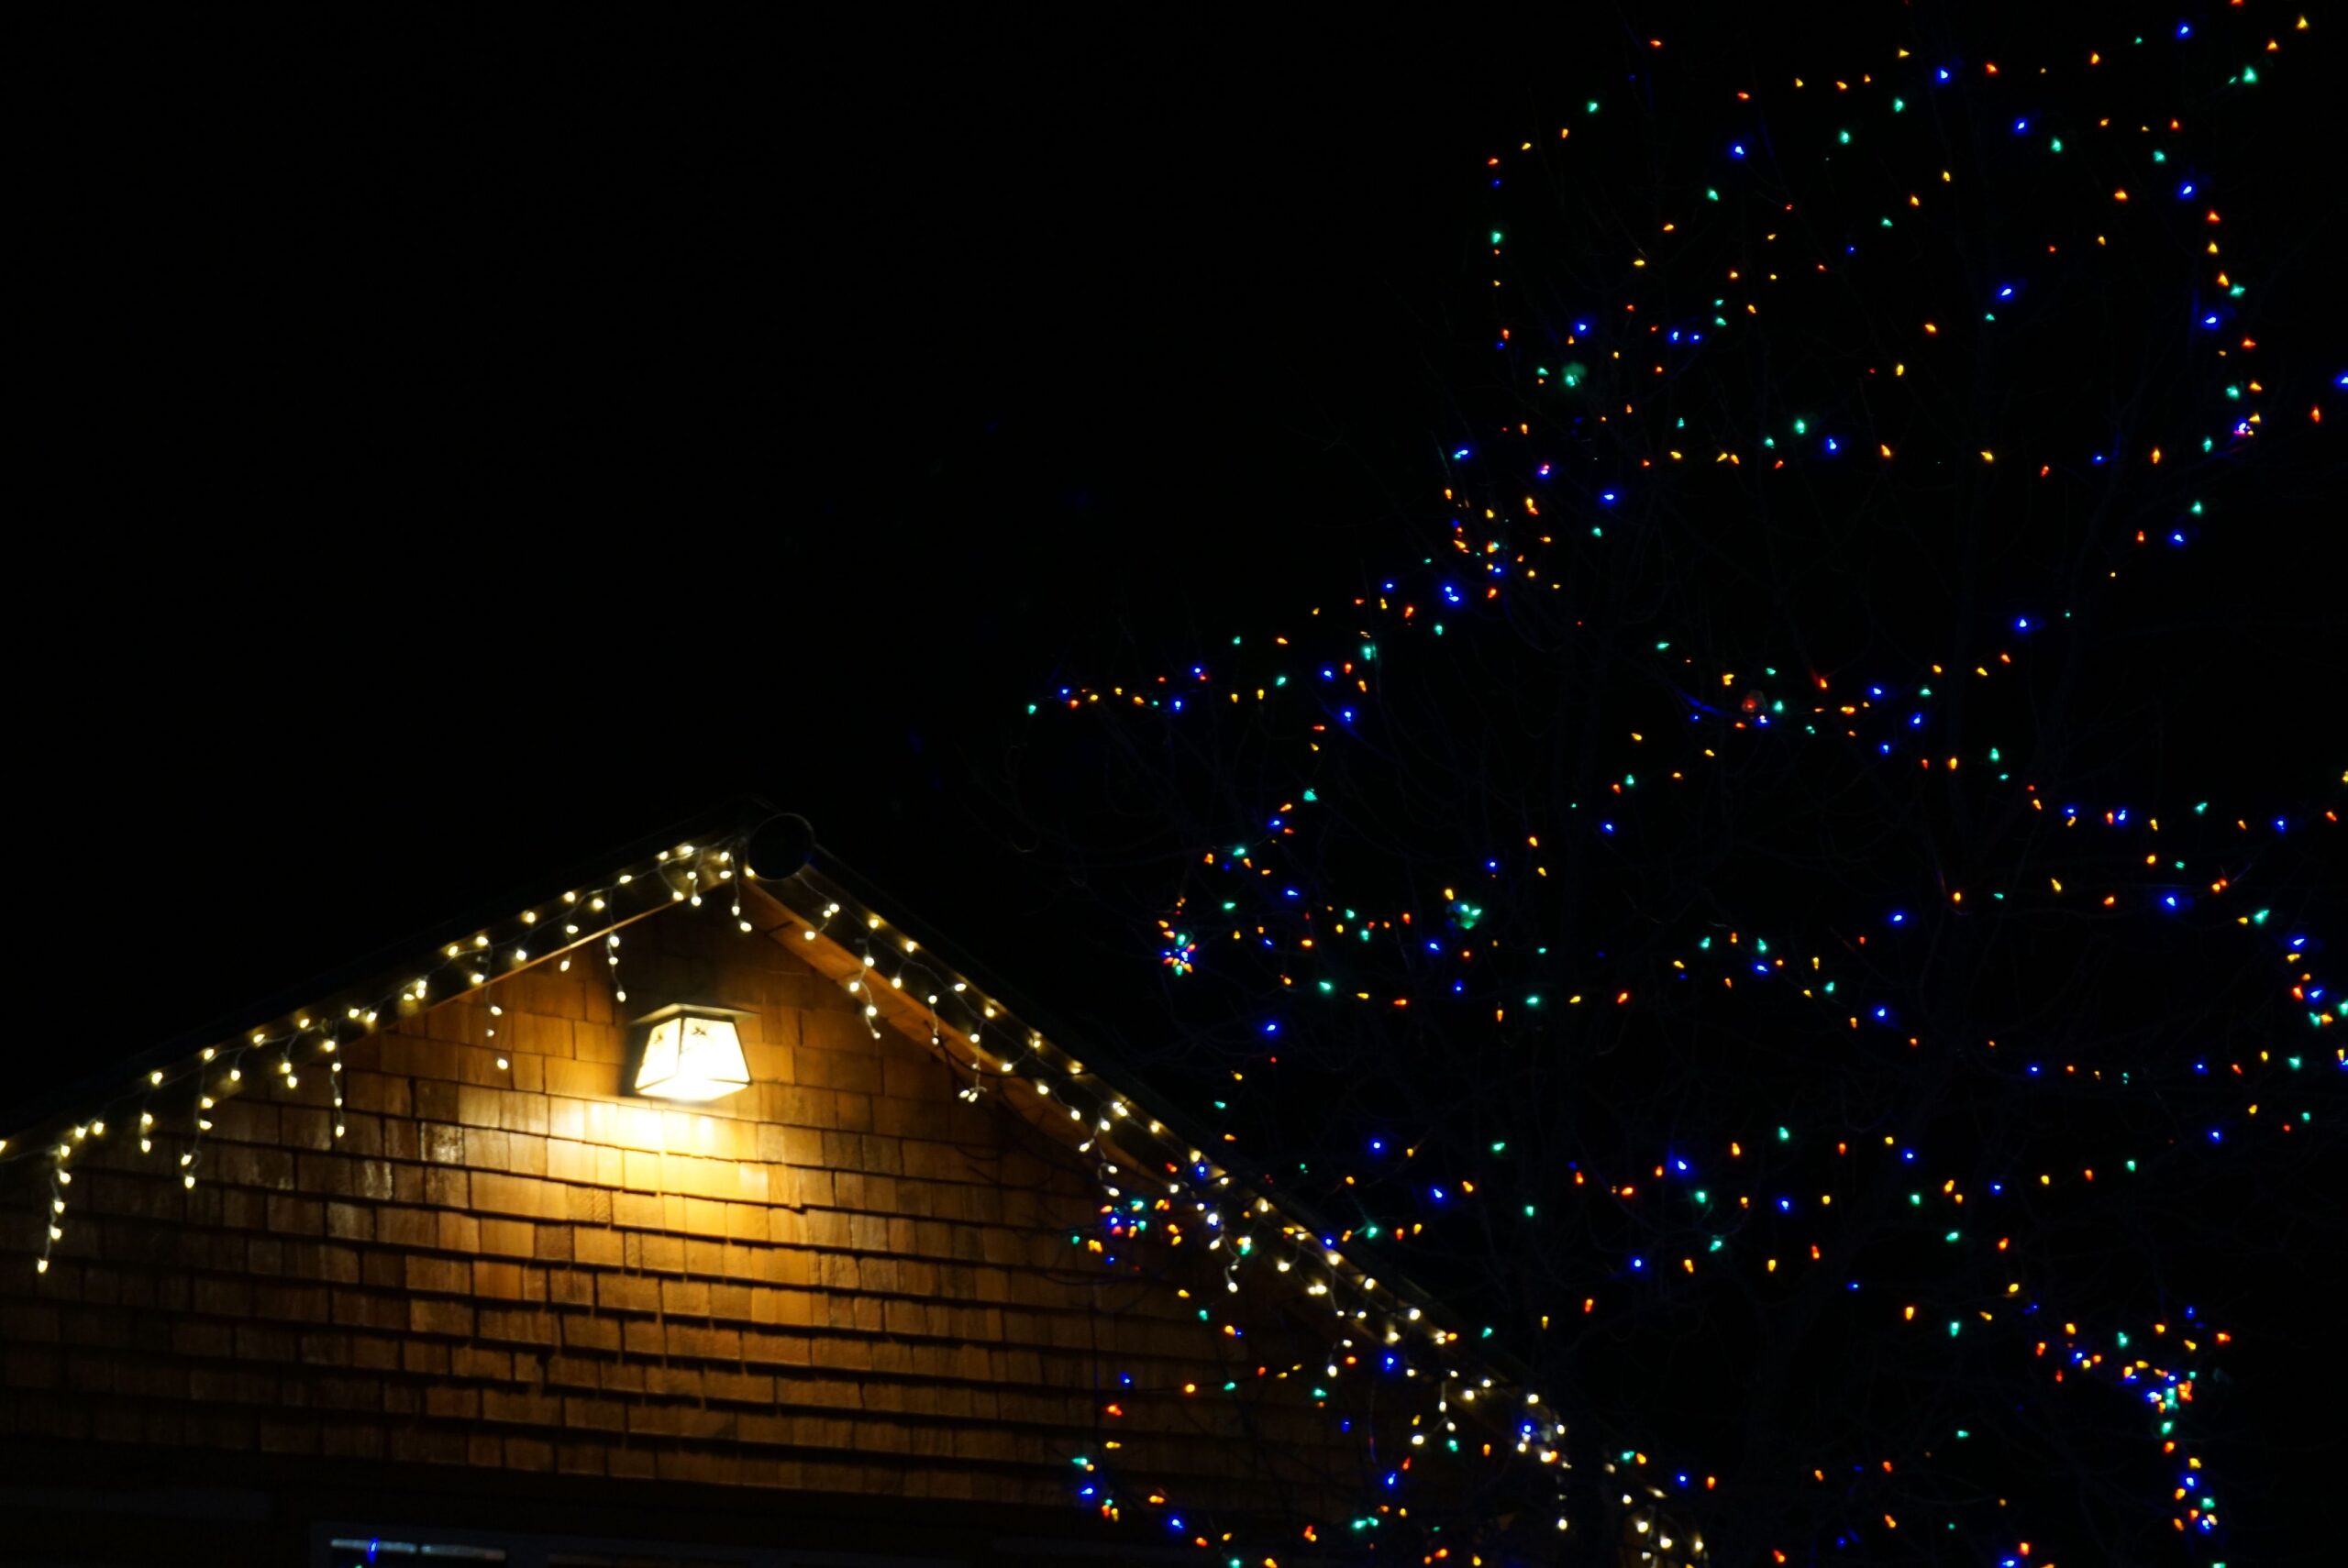
Holiday lights look their best when they run in clean, straight lines along a roof edge, but the surface holding those lines needs to be in good condition first. Every strand adds weight, every clip puts pressure on a shingle edge or a gutter lip, and every trip up the ladder puts stress on the fascia board sitting behind your gutter run. A roof that already has lifted shingles, backed out fasteners, or a sagging gutter section will not carry that extra load well, and the damage often shows up long after the decorations come down. Homeowners across Bedford, Colleyville, Keller, and the rest of the Dallas Fort Worth area frequently discover roof problems in the middle of December, when repair schedules are full and the weather is working against them. A short inspection in the fall gives you time to correct small issues while the temperatures are still mild and materials are still flexible. It also keeps you far safer on the ladder, because you will already know which sections of the roof and gutter system are solid and which ones need to be avoided entirely. Knowing what to look for on the roofing surface, along the gutter line, and on the electrical side of the job makes the entire project faster, cleaner, and much less risky for your home.
What to Check on Your Roof Before Hanging Holiday Lights
The roof carries the visual weight of your display, so it deserves a careful look before a single clip goes on. Asphalt shingles in North Texas take a beating from hail, high wind, and long stretches of intense summer heat, and that wear does not always announce itself from the ground. Loose tabs, missing granules, cracked pipe boots, and lifted flashing all become bigger problems once someone starts walking the slope and tugging on strands. Cold weather makes this worse, since asphalt shingles stiffen as temperatures drop and become far easier to crack under a boot heel. A quick visual review from a ladder at the eave, combined with a look through binoculars from the yard, will catch most of the obvious warning signs. Anything you cannot see clearly from those two vantage points is worth having a professional evaluate before you commit to climbing up.
How to Check Roof Shingles Before Hanging Holiday Lights
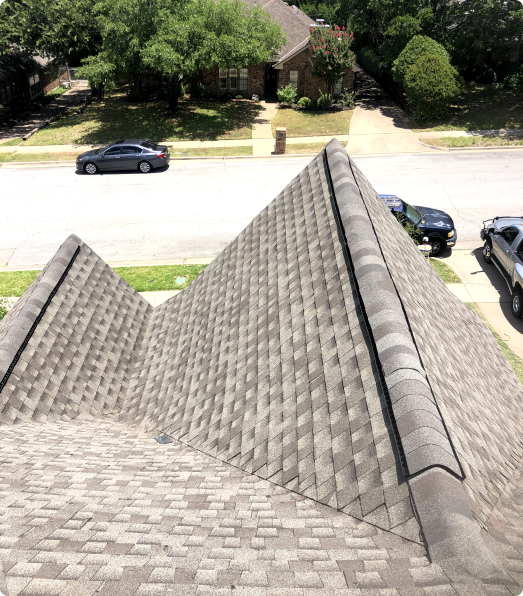
Start at the eave and work your way visually up the slope, looking for shingle tabs that are curling at the corners, lifting at the edges, or sitting slightly higher than the ones around them. A tab that lifts easily under light hand pressure has lost its seal, and the adhesive strip that bonds each course together is no longer doing its job. That matters for holiday lights because most shingle clips are designed to slide under the bottom edge of a tab and hook onto the shingle course, which requires an intact, well sealed shingle to hold securely. If the tab is already loose, the clip can pull it further open, allow wind to catch underneath it, and create a path for water to reach the decking during the next storm. Granule loss is the second thing to watch for, since bare, shiny asphalt patches and heavy granule buildup in the gutter trough both indicate a shingle surface that is aging out. Cracked or split shingles should never be used as anchor points, and any area with visible cracking needs repair before it is loaded with hardware. If you spot more than a few problem areas across the roof, the smarter move is to hold off on the lights until the roofing surface has been looked at properly.
Pay close attention to the first three or four courses above the gutter line, because that is where nearly all roofline lighting gets installed and where wind uplift does the most damage. Those lower courses take direct exposure from wind driven rain, and they also sit where ice and debris tend to collect during a North Texas cold snap. Press gently on a few shingles in that zone to feel for softness underneath, which usually points to moisture in the decking rather than a problem with the shingle itself. Soft or spongy spots mean the substrate is compromised, and adding foot traffic to that area risks a serious fall along with expensive structural repairs. Look also at the exposed nail heads on ridge caps and hip lines, since backed out nails often signal decking movement or repeated thermal cycling. Any nail head that has worked its way above the shingle surface needs to be reseated and sealed rather than ignored. Catching these details early keeps a decorative project from turning into an emergency roof repair in the middle of winter.
Temperature plays a much larger role in this work than most homeowners expect, and it directly affects when you should be on the roof at all. Asphalt shingles are a petroleum based product, which means they stay pliable in warmth and grow brittle as the thermometer falls; below roughly fifty degrees they lose a noticeable amount of flexibility. Walking a cold roof, kneeling on it, or bending a tab upward to insert a clip can fracture the mat and leave a crack that will not be visible from the ground. That is exactly why late fall, while daytime temperatures are still comfortable, is the ideal window for both inspection and installation in the Metroplex. Morning frost and overnight condensation also leave the surface slick well past sunrise, so waiting until the roof is completely dry is not optional. If your schedule pushes the work into a genuinely cold stretch, the safest approach is to install everything from a ladder at the edge rather than stepping onto the field of the roof. Need a professional set of eyes on your shingles first? Click here for our roofing services.

What to Check on Roof Flashing and Vents Before Hanging Holiday Lights
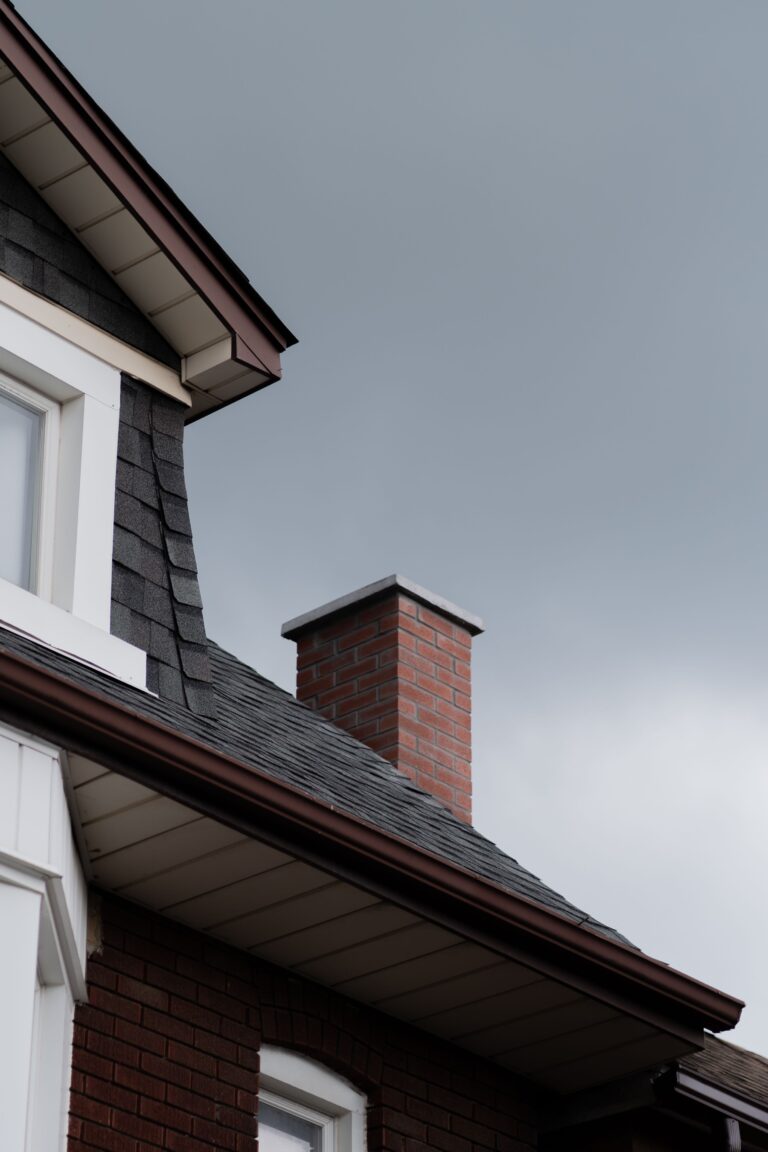
Flashing is the metal that seals the transitions where your roof meets something else, and those transitions are the most common leak points on any home. Check the step flashing where the roof meets a wall, the counterflashing around the chimney, and the metal collars around plumbing vents and exhaust caps. Rust, separation, lifted edges, and gaps in the sealant all indicate that water has a path inside and that the area should not be disturbed with clips, wire, or foot traffic. Rubber pipe boots deserve special attention, because the neoprene collar around each plumbing stack typically cracks and splits somewhere between ten and fifteen years of Texas sun exposure. A split boot is one of the most frequent leak sources roofers find, and it is easy to spot as a dried, checkered ring of rubber that no longer hugs the pipe. Running light strands over or around a compromised boot only makes the eventual repair more complicated. Note the location of every vent, stack, and flashing detail so you can route your lighting well clear of them.
Valleys are the other area to identify and then leave alone, since they carry the highest volume of water on the entire roof. A valley collects runoff from two intersecting slopes and channels it toward the gutter at considerable speed, which means any obstruction there causes backup and eventual intrusion. Extension cords laid across a valley, clips fastened inside one, or debris kicked into it during installation will all interfere with that drainage path. Look for shingle wear along the center line of each valley, exposed metal, or granule buildup that suggests water is not moving freely. If leaves and twigs have collected in the valley from the fall, clear them out gently by hand or with a leaf blower rather than scraping with a tool. Keeping the valleys clean and free of hardware protects both your roof and the gutter section beneath it. This single habit prevents a surprising number of winter leaks in older Bedford and Hurst homes.
Chimneys and skylights need the same treatment, and they are often the exact features homeowners most want to decorate. The mortar joints on a masonry chimney crack and shrink over time, and the counterflashing tucked into those joints can pull loose without any visible sign from the ground. Wrapping a chimney in lights adds pressure at precisely the point where the seal is most fragile, and a strand tied off around a loose piece of flashing can peel it away in a strong wind. Skylight frames should be checked for cracked sealant, condensation between the panes, and daylight visible around the edges from inside the attic. If either feature shows any sign of failure, decorate it next season and get the seal repaired now. Attaching anything to a compromised chimney or skylight is one of the fastest ways to turn a decorative project into an interior water stain. A professional inspection will confirm the condition of these details in a matter of minutes.
Safety Steps to Check Before Hanging Holiday Lights on a Roof
Ladder setup causes more holiday injuries than any other part of this project, and the fixes are simple once you know them. Position the ladder on firm, level ground at roughly a four to one angle, meaning the base sits one foot away from the wall for every four feet of height. If you plan to step onto the roof at any point, the ladder rails need to extend at least three feet past the roof edge so you have something solid to hold during the transition. Never lean the ladder directly against a gutter, because aluminum gutter is thin and will dent, deform, or pull loose from its hangers under that concentrated load. A ladder standoff or stabilizer bar spreads the weight onto the fascia and roof surface instead, and it also gives you working room at the eave. Maintain three points of contact at all times and move the ladder rather than reaching sideways to save a trip. Having a second person on the ground to steady the base and hand up materials makes the entire job faster and considerably safer.
The electrical side of the job carries its own set of checks that should happen before anything is mounted. Confirm that every strand, extension cord, and timer is rated for outdoor use and carries a recognized safety listing, since indoor rated products lack the insulation and weather sealing needed for exposure. Inspect each strand from last season for cracked insulation, exposed copper, bent prongs, and cracked sockets, and replace anything that looks compromised rather than trying to repair it. Plug the display into a GFCI protected exterior outlet, which will cut power quickly if moisture reaches a connection. Respect the manufacturer stated limit on how many strands can be connected end to end, because exceeding it overheats the wiring and creates a real fire risk. LED strands draw dramatically less current than older incandescent bulbs, which allows longer runs on a single circuit and reduces load on your home electrical system. Keep all connection points elevated and out of standing water, and use gutter clips or hooks rather than letting cords rest in the trough.
Weather timing rounds out the safety picture, and North Texas gives you a fairly narrow window to work with. Avoid any day with wind gusts, since a light strand acts like a sail and a ladder becomes unstable much faster than most people expect. Wet, frosted, or algae covered shingles are slick enough to cause a fall even on a modest slope, so wait until the surface has fully dried in the afternoon sun. Steep pitches, second story rooflines, and homes with complex intersecting slopes are genuinely dangerous for a homeowner working alone. If your roof falls into any of those categories, hiring the work out is the reasonable choice rather than a luxury. Tell someone in the house when you are going up and when you expect to be down. No holiday display is worth an emergency room visit or a fall from a second story eave.
What to Check on Your Gutters Before Hanging Holiday Lights
Gutters take on far more stress during the holidays than most homeowners realize, and they are frequently the weakest link in the entire display. A standard five inch aluminum gutter is designed to move water, not to anchor hardware, support ladder pressure, or carry the added weight of clips and strands along its full length. When the trough is already loaded with leaves, seed pods, and shingle granules from the summer, its capacity to handle anything extra drops sharply. Water that cannot drain will sit and freeze during a Texas cold snap, and frozen water weighs enough to pull fasteners straight out of the fascia. Add a row of light clips and a ladder leaning against the front edge, and a marginal gutter section becomes a failed one. Checking the trough, the hangers, and the downspouts before the decorations go up protects both the gutter system and the wood behind it. It is a short task that prevents a very common winter repair call.
How to Check Gutter Hangers and Fasteners Before Hanging Holiday Lights
Walk the perimeter of the house and look up along the length of each gutter run, checking for sections that sag, dip in the middle, or pull away from the fascia at the top edge. A properly supported gutter maintains a consistent, subtle slope toward the downspout, and any visible dip means a hanger has failed or the fastener has lost its grip in the wood. Older homes often use spike and ferrule fasteners, which are long nails driven through the front lip and into the rafter tail; those nails work loose over the years through repeated expansion and contraction. Newer hidden hanger systems use a screw driven into the fascia and hold considerably better, but they still need to be spaced correctly to carry a load. Industry practice places hangers roughly every twenty four to thirty six inches, with tighter spacing in areas that see heavy runoff or ice. Reach up and gently push a suspect section to feel for movement, and check the spacing between hangers where you plan to attach clips. Anything loose should be refastened or replaced before it carries a single strand of lights.
The fascia board behind the gutter is the component that actually holds everything, and it is the part homeowners almost never examine. Look for peeling paint, dark staining, soft wood, and visible separation between the gutter back and the board itself, all of which point to water damage from a long standing overflow problem. Press a screwdriver tip lightly into any discolored area; if it sinks in with little resistance, the wood has rotted and will not hold a fastener under load. Rotted fascia is a genuine safety issue during light installation, because a gutter anchored to compromised wood can release suddenly when a ladder is placed against it. This damage typically starts small and spreads along the run, which is why catching it in fall saves both money and hassle. Soffit panels below the fascia should also be checked for sagging, staining, or gaps where pests have found an entry point. Repairing this section before the holidays keeps the whole roof edge structurally sound.
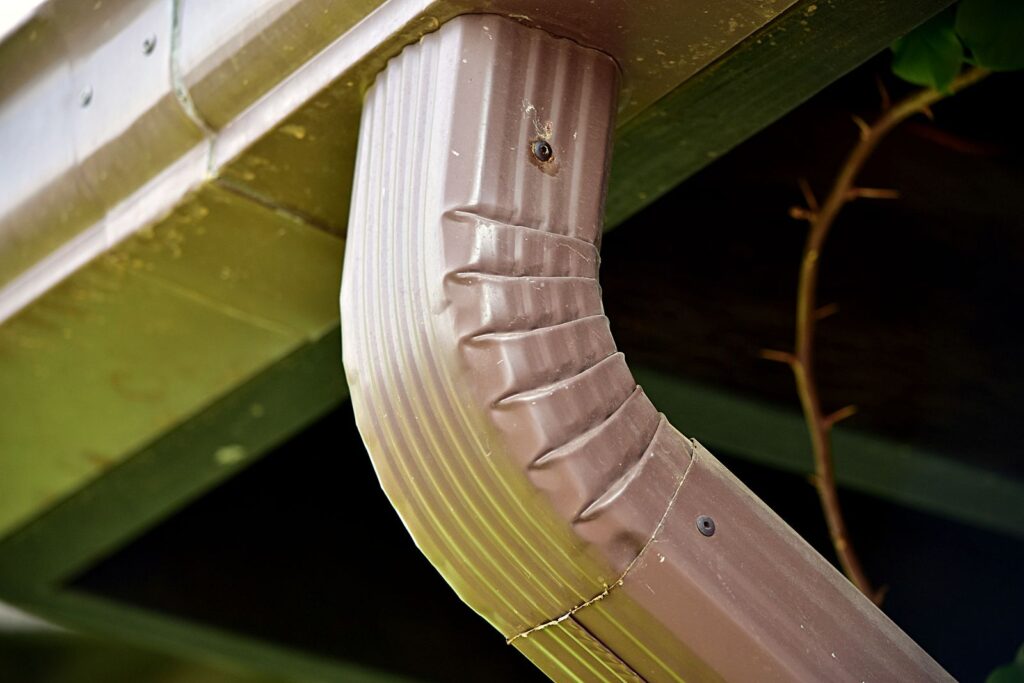
Downspouts deserve their own quick review, since they are what actually carry water away from the house. Confirm that each downspout is securely strapped to the wall, that the elbows are still connected, and that the outlet at the bottom directs water several feet away from the foundation. A disconnected or clogged downspout backs water up into the gutter run, adding weight and increasing the chance of an overflow that freezes across your walkway. Tap along the length of each downspout with your knuckles and listen for the dull, solid sound that indicates a blockage of packed debris. Extensions and splash blocks should be reset if the fall yard work knocked them out of position. Correcting these details takes very little time and prevents the standing water problems that show up during winter rain. Ready to get the gutter system in shape before the season starts? Click here for our gutter services.
Why Cleaning Gutters Matters Before Hanging Holiday Lights
Cleaning comes before clipping for a practical reason: once lights are installed along the roof edge, cleaning the trough becomes awkward and risks damaging the display. Fall in North Texas drops a heavy load of leaves, oak tassels, seed pods, and small branches into gutter systems, and much of it settles into a dense mat at the bottom of the trough. That mat holds moisture against the metal, accelerates corrosion at the seams, and blocks the flow toward the downspout. Water that cannot drain will pool along the run and spill over the front edge, landing wherever gravity takes it, including on walkways, entry steps, and landscaping. During a cold night that overflow refreezes into ice, creating a slip hazard directly beneath the area where your decorations hang. Clearing the trough by hand or with a blower, then flushing it with a hose, confirms the system actually drains. It is the single most useful maintenance task before a light installation.
Weight is the factor homeowners underestimate most, and the math makes the point clearly. Water weighs a little over eight pounds per gallon, and a clogged gutter section can easily hold many gallons across a run before it overflows. Once that water freezes, the load stays in place for the duration of the cold snap instead of draining away. Now add the weight of packed wet debris, plus the pull of light strands, plus any ladder pressure applied during installation and takedown. Hangers that were adequate for a clean, empty gutter start pulling free from the fascia under that combined load. Sections that separate at a seam or drop at one end almost always fail during exactly this kind of stress. Cleaning first removes the largest and most avoidable part of that weight.
While you have the trough clear, take the opportunity to check the interior condition of the gutter itself. Look for rust spots, pinholes, split seams at the corners, and sealant that has dried out and pulled away from the joints. Small holes let water drip directly onto the fascia and siding below, which produces staining, paint failure, and eventually wood rot around the roof edge. Corner miters and end caps are the most common failure points because they rely on sealant rather than a mechanical connection. A fresh bead of gutter sealant applied to a clean, dry surface handles minor leaks, though badly corroded sections are better replaced outright. Finish the inspection by running water through the system with a hose and watching how quickly it clears. A gutter that drains cleanly and holds no standing water is ready to support your holiday display.
How to Attach Holiday Lights to Gutters Without Causing Damage
Attachment method matters enormously, and the wrong hardware causes damage that lasts long after the season ends. Never use nails, screws, or staples to fasten lights to gutters, fascia, or shingles, because each one creates a permanent penetration that invites water into the material. A nail through a gutter lip leaves a hole that will drip for years; a staple through a shingle breaks the water shedding surface at exactly the point where it matters most. Plastic gutter clips are the correct tool for a gutter run, and they hook over the front lip of the trough without piercing anything. Shingle tab clips serve the same purpose on the roof surface, sliding under the lower edge of a shingle and gripping the course without any fastener. Both styles are inexpensive, reusable across multiple seasons, and available in configurations that hold the bulbs facing up, down, or outward. Buying the right clip for the surface you are working on eliminates nearly all installation damage.
Spacing and tension are the next considerations, and both affect how the display holds up through a windy stretch. Place clips roughly every twelve inches along the run so the strand is supported evenly rather than hanging in long, sagging loops between anchor points. A sagging strand catches wind, swings, and puts sharp pulling force on the few clips that are actually carrying it, which is how clips break loose and sections come down. Keep the wire snug against the gutter or shingle edge without stretching it tight, since a strand under tension will contract further in the cold and stress every connection. Route the strand along the gutter lip in a continuous line rather than crossing back and forth over roofing material. Where the run turns a corner, add an extra clip on each side of the turn to hold the angle cleanly. These small adjustments keep the display looking sharp through January.
Plan the electrical routing before you start clipping, because retrofitting a cord path afterward usually means undoing your work. Identify the exterior GFCI outlet you intend to use, then map the shortest route from that outlet to the start of the run, keeping cords out of the gutter trough and off the roof field. Cords lying in a gutter block drainage and sit in water, both of which create hazards you do not want anywhere near your home. Use clips or hooks to keep connection points elevated, and wrap each junction so moisture cannot collect at the plug. An outdoor rated timer at the outlet handles the schedule automatically and reduces how often anyone needs to be near the connections. Take a few photos of the finished layout so next year’s installation goes faster. Storing the strands coiled and labeled makes the entire process easier every season after this one.
Why You Need a Roof and Gutter Inspection Before Hanging Holiday Lights
An inspection before the lights go up gives you information you simply cannot get from the ground, and it takes far less time than most homeowners assume. A trained roofer knows exactly where failures start, what a compromised pipe boot looks like, and which gutter sections will not hold under load. That knowledge turns a guessing game into a clear plan, letting you decorate with confidence or address a problem while there is still time to fix it. North Texas homes also carry hail and wind damage that goes unnoticed for months, and finding it before winter matters for both repairs and insurance timelines. A professional visit documents the condition of the roof and gutter system so nothing catches you by surprise in the middle of a cold, wet week.
What a Professional Roof Inspection Finds Before Holiday Lights Go Up
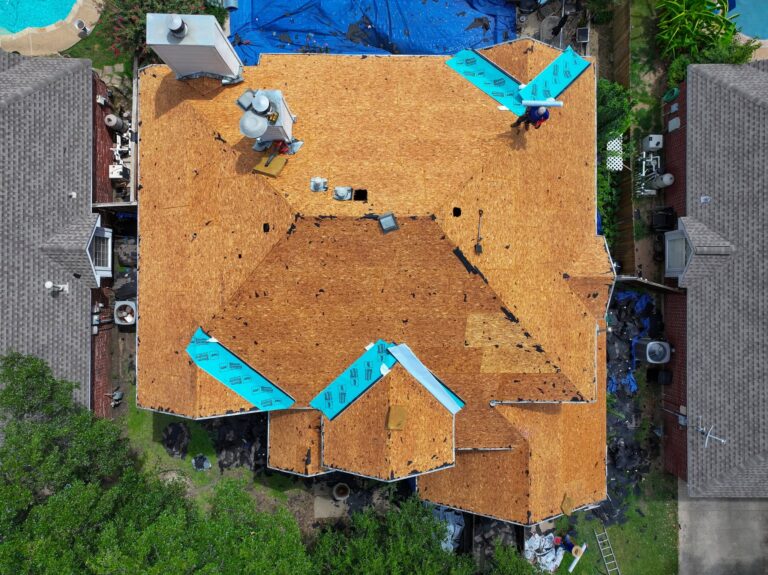
A thorough roof inspection covers the shingle field, the ridge and hip lines, all flashing details, every penetration, and the condition of the underlayment where it is visible. Damage from hail shows up as soft, bruised impact points and concentrated granule loss, patterns that are easy to miss from a driveway but obvious to someone standing on the slope. Wind damage tends to appear as creased or lifted tabs along the leading edges and rakes, where uplift is strongest. Inspectors also check the attic side when access allows, looking for daylight, staining, damp insulation, and inadequate ventilation. Each of these findings has a direct bearing on how safely your roof can support a light installation. Getting a written assessment before the holidays keeps small repairs small.
Insurance timing gives you another reason to schedule the visit early rather than late. Most policies place limits on how long after a storm event a claim can be filed, and damage that sits undocumented for a full season becomes much harder to attribute correctly. An inspection creates a dated record of your roof condition, which is valuable regardless of what happens next. If damage is found, you will know what you are dealing with while contractors still have open schedules. Waiting until a leak appears during a January storm puts you at the back of a very long line.
The inspection also gives you a realistic sense of how much life your roof has left, which shapes every decision you make about it. A roofing system approaching the end of its service life should not be treated as an anchor point for anything, no matter how lightweight the display seems. Knowing your timeline helps you plan a replacement on your terms rather than reacting to an emergency. It also prevents you from spending money on repairs that will be torn off in a year. Curious what condition your roof is actually in? Click here to learn more about our roofing services.

When to Schedule Gutter Repairs Before Hanging Holiday Lights
The best time to handle gutter repairs is early fall, once the majority of leaves have dropped but before the first hard freeze arrives. Sealants cure properly in mild temperatures, fasteners drive cleanly into dry wood, and crews have more availability than they will in December. Repairs made in that window are fully set and tested by the time the weather turns. Scheduling during a cold, wet stretch means working around conditions that slow everything down and reduce the quality of the result. Planning ahead is genuinely the cheaper path.
Certain conditions should push gutter work to the top of your list regardless of the calendar. Visible sagging, sections pulling away from the fascia, water spilling over the front edge during rain, and staining on the siding below all indicate active problems. Soft or rotting fascia is the most urgent of these, since it affects the structural attachment of the entire run. Repairing rotted wood also requires addressing the source of the moisture, which usually traces back to a drainage failure. Handling both at once solves the problem instead of postponing it.
Homes surrounded by mature trees benefit from gutter guards, which reduce how often the trough needs to be cleared. Guards do not eliminate maintenance entirely, though they keep the bulk of leaves and larger debris out of the system. That improved drainage matters most during winter, when a clogged section holds water that freezes and pulls on the hangers. For homeowners who would rather not climb a ladder twice a year, guards are a practical upgrade. Want to sort out your gutters before the decorations go up? Click here for our gutter services.
Why Choose TM Roofing & Construction Group for Roof and Gutter Help Before Holiday Lights
TM Roofing & Construction Group is locally owned and operated out of Bedford, and we serve homeowners throughout Colleyville, Southlake, Keller, Grapevine, Hurst, Euless, Irving, and the surrounding communities. More than 600 Facebook reviews and BBB accreditation back the work we do, and we treat every home the way we would treat our own. Our team handles roofing, gutters, siding, and commercial roofing, so one call covers the entire exterior instead of coordinating separate trades. Free estimates make it easy to find out where you stand before committing to anything. We are available 24 hours a day, seven days a week, for the situations that will not wait.
Every roofing installation we complete is supported by lifetime manufacturer warranties on materials and a ten year workmanship guarantee on our labor. That combination protects you on both sides of the job, covering the products going on your home and the quality of the installation itself. Our team also specializes in insurance claims, and we contribute $500 toward your deductible on qualifying claims. Flexible financing options keep necessary repairs manageable when the timing is not ideal. The result is a straightforward process with no surprises along the way.
Getting your roof and gutters checked before the holiday season is one of the simplest ways to protect your home during the busiest months of the year. Our crews will identify what needs attention, explain the findings in plain terms, and give you an honest recommendation with no pressure attached. Repairs completed now mean a safer installation, a cleaner display, and no scrambling for a contractor during a January storm. We are proud to serve Bedford and the wider Dallas Fort Worth area with dependable work and clear communication. Call TM Roofing & Construction Group at (817) 820-9596 to schedule your free estimate and get your roof and gutters ready before the lights go up.