How to Tell If the Flashing Around Your Chimney Is Failing
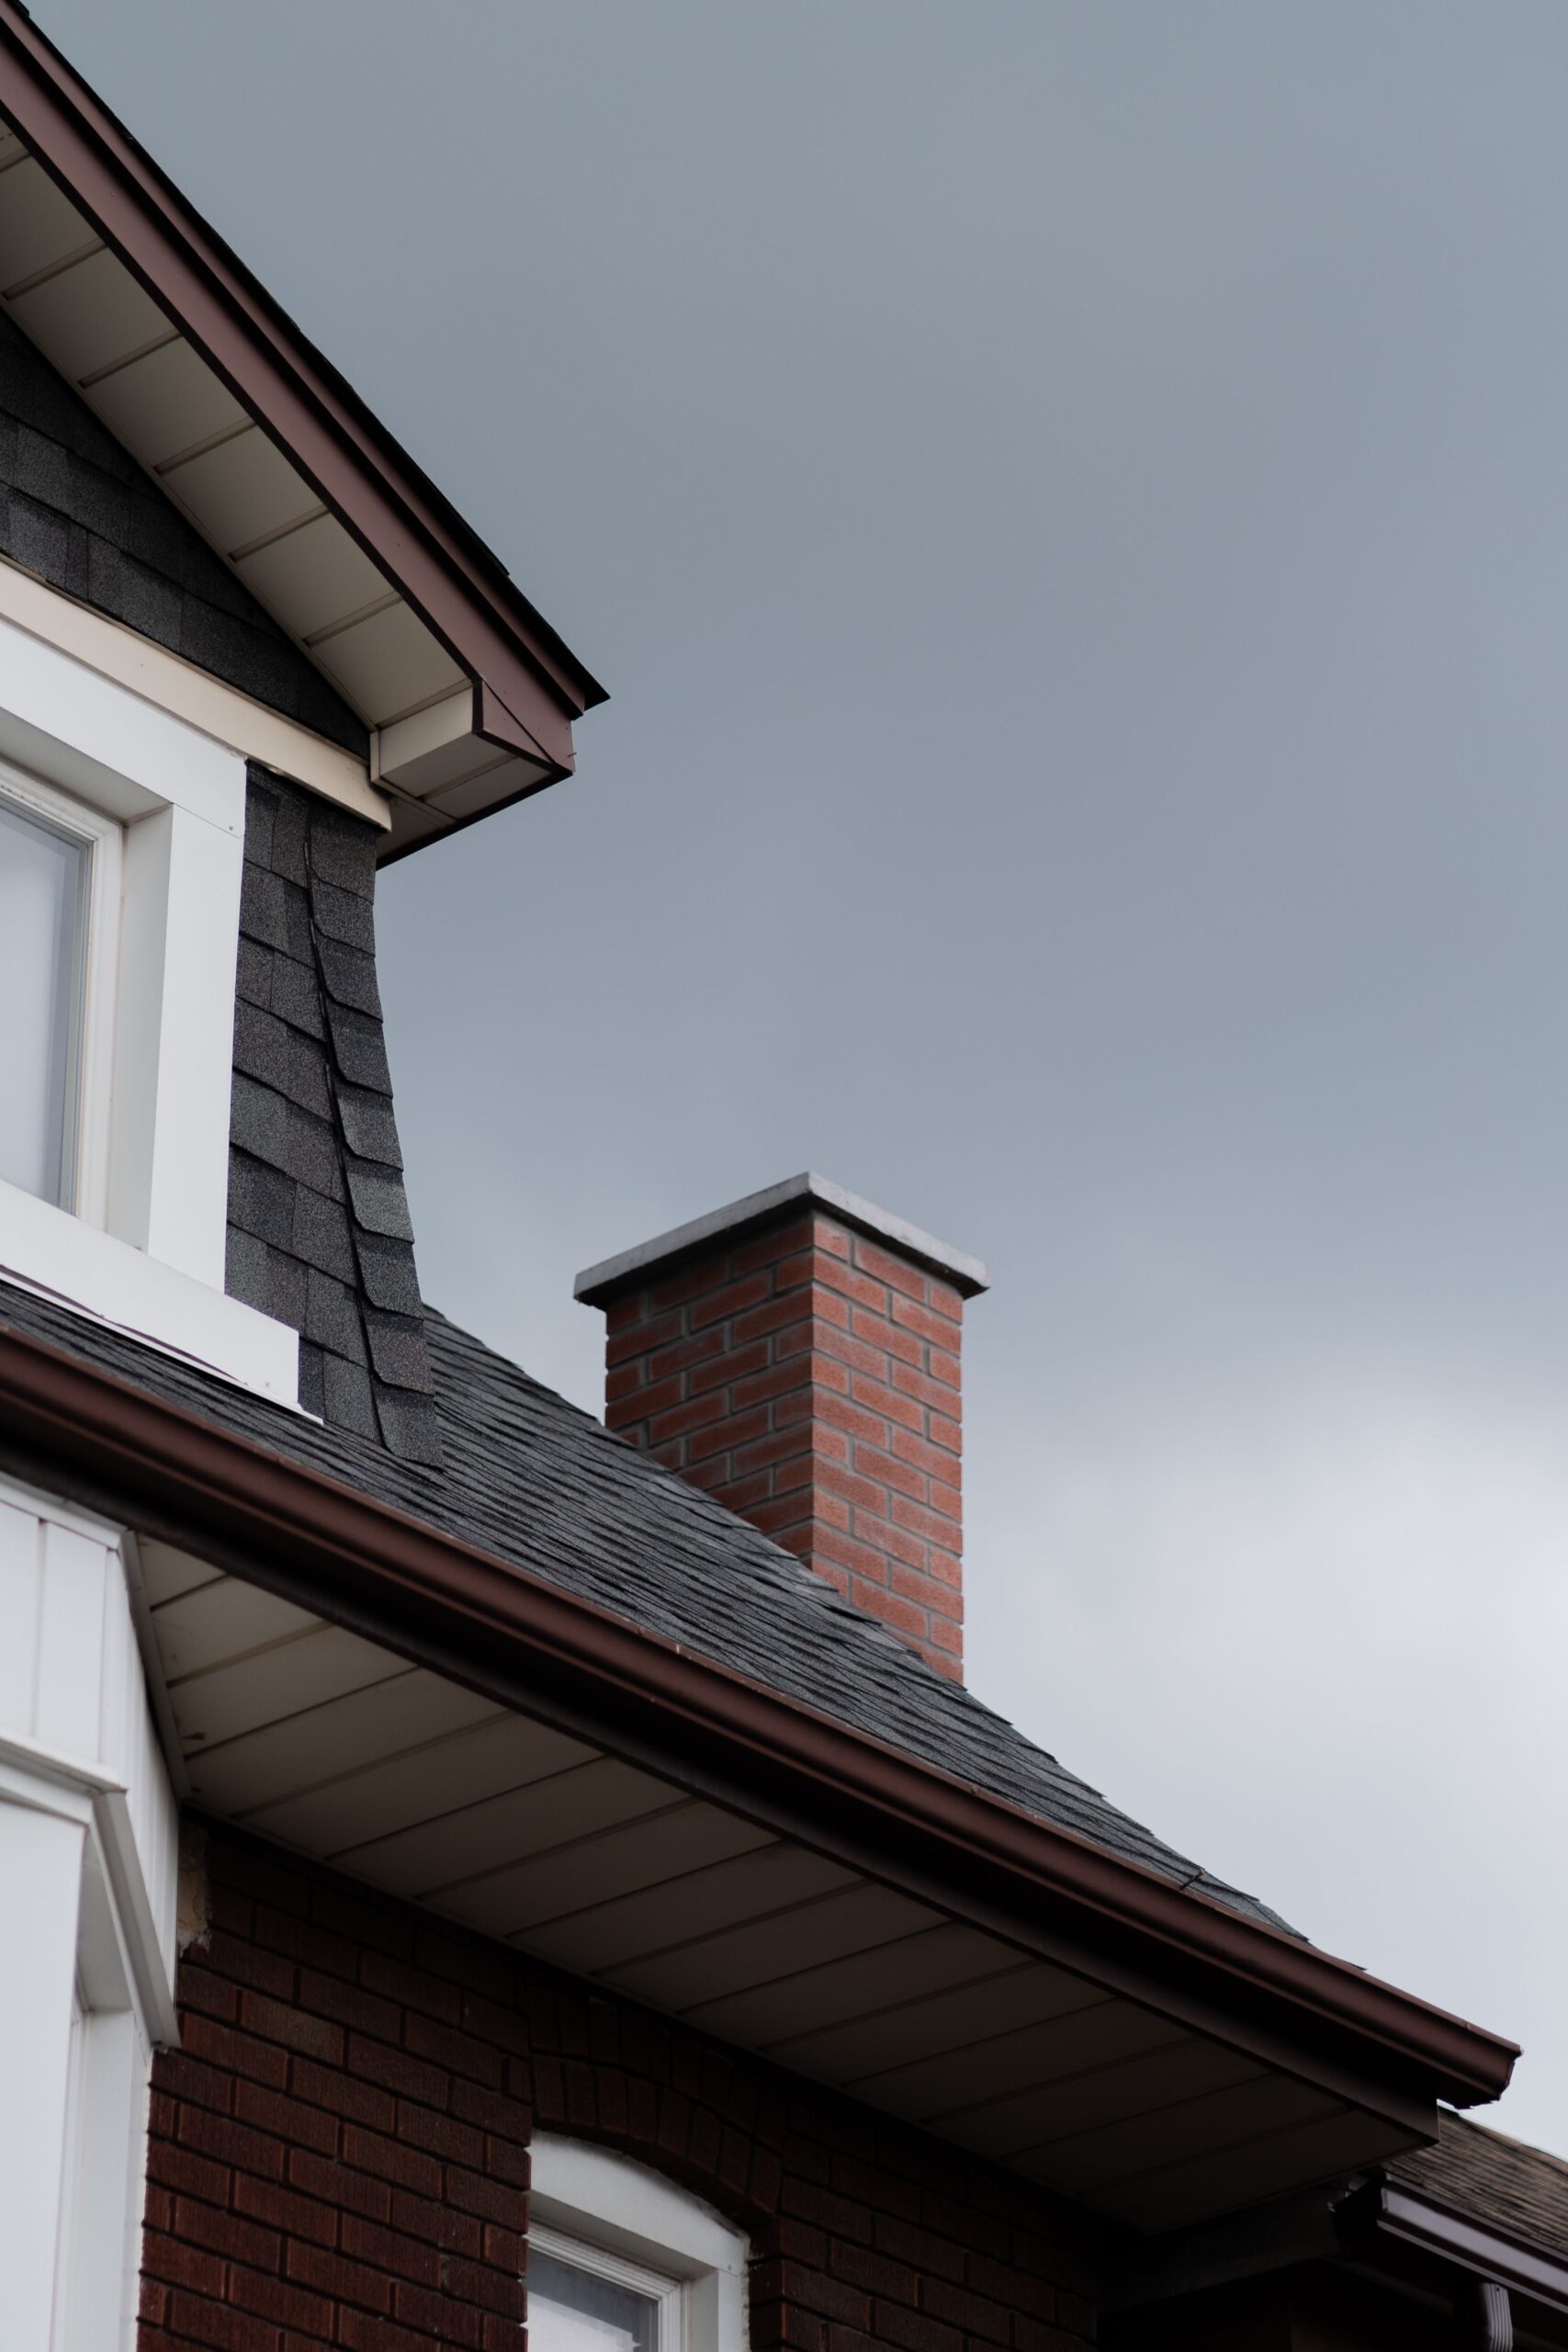
The flashing around your chimney is the thin metal barrier that keeps water from running straight into your attic where the masonry meets the roof deck. It works hard, and in North Texas it works under brutal conditions. Summer surface temperatures on a dark shingle roof can climb well past 150 degrees, and that heat makes metal expand and contract every single day. Add spring hail, straight line winds, and the heavy rain that rolls through the Metroplex in fall, and you have a recipe for slow, quiet failure. Most homeowners never look at their chimney flashing until a brown ring shows up on a bedroom ceiling. By then, the decking underneath has usually been wet for months. The good news is that failing chimney flashing gives off warning signs long before the drywall gives out. Learning to spot those signs now, before the autumn storm season arrives, saves you from a repair bill that grows every time it rains.
Warning Signs of Failing Chimney Flashing
Chimney flashing is not one piece of metal; it is a layered system. Step flashing tucks under each course of shingles along the sides of the chimney, apron flashing covers the low side, a saddle or cricket sheds water on the high side, and counter flashing sits in a groove cut into the mortar joints to cap everything off. Any one of those layers can fail on its own while the rest still looks fine from the driveway. That is why the symptoms often show up somewhere other than the chimney itself. Water travels sideways along rafters and decking before it drops, so a stain six feet from the fireplace can still trace back to a bad piece of counter flashing. The signs below are the ones roofers see most often on homes across Bedford, Hurst, Euless, and the surrounding cities. Catching two or three of them together almost always means the flashing system needs attention rather than another bead of sealant.
Water Stains and Leaks That Point to Failing Chimney Flashing
Interior staining is the loudest signal that chimney flashing has stopped doing its job. Look for tan or brown rings on the ceiling within a few feet of the chimney, and check the wall directly beside a fireplace for bubbled paint or soft drywall tape. Second story homes often show the stain on an upper ceiling first, while single story homes may show it right at the mantel. Fresh stains have crisp edges and feel cool or damp after a storm, and older stains look dry with dark rings layered inside each other like tree growth. Layered rings tell you the leak has been active through multiple rain events, which usually means months of hidden damage above. A musty odor in a closet or hallway near the chimney points the same direction, since trapped moisture in insulation holds a smell long after the surface dries. None of this is proof by itself, but paired with a wet firebox it becomes hard to explain any other way.
The firebox and damper give you a second set of clues that most people walk past every day. Run your hand along the inside of the firebox after a heavy rain and check for damp soot, standing water, or a white powdery residue on the brick. That white residue is efflorescence, the mineral salt left behind when water passes through masonry and evaporates, and it means moisture is moving through the structure rather than around it. A damper that squeals, sticks, or shows orange rust flakes is another strong indicator, because a properly flashed and capped chimney keeps that hardware dry. Some homeowners assume rain simply comes down the flue, and sometimes that is true when a chimney cap is missing. A roofer can separate the two causes quickly by checking the cap and crown before ever touching the flashing.
Exterior staining on the chimney itself rounds out the picture and is easy to spot from the yard. Dark vertical streaks running down the brick below the roof line suggest water is sheeting behind the counter flashing instead of over it. Chalky white patches, crumbling mortar joints, and brick faces that flake or pop off are all signs of freeze and thaw damage that started with a moisture intrusion. North Texas gets just enough hard freezes each winter to break saturated masonry apart, and every soaked cycle makes the next one worse. If the brick near the roof line looks noticeably different from the brick higher up, water is collecting where the chimney meets the shingles. That is exactly where the flashing is supposed to be protecting the assembly.
Rust, Gaps, and Lifted Metal on Chimney Flashing
Rust is the most obvious visual failure, and it tells you the metal is thinning from the inside out. Galvanized steel flashing is common on homes built in the 1980s and 1990s, and its zinc coating wears off after two or three decades of Texas sun and rain. Once that coating is gone, the steel oxidizes, pinholes form, and water follows the path of least resistance straight to the decking. Orange staining on the shingles just below the flashing is often the first thing visible from the ground with binoculars. Aluminum flashing does not rust, but it corrodes badly when installed in direct contact with fresh mortar, since the alkaline mix eats away at the metal over time. Copper and lead coated materials hold up far longer, which is why they show up on higher end installations. Identifying the metal type helps a roofer estimate how much service life is realistically left.
Gaps and lifted edges usually come from movement rather than corrosion. Chimneys and roof structures settle at slightly different rates, and every hot day pushes the metal to expand a little before it contracts again overnight. That constant cycling works fasteners loose and pulls counter flashing out of the mortar joint it was originally set into. Wind driven rain does not need much of an opening to get behind the metal; a gap the width of a pencil is more than enough. Hail adds another dimension by denting the flashing and breaking the seal where the metal folds. After a significant hail event, flashing may look intact but no longer sit flush against the masonry. Standing at the base of the chimney, a roofer can often see daylight through a gap that is invisible from twenty feet away.
Loose or missing counter flashing deserves special attention because it is the layer that protects everything underneath. Correct counter flashing is embedded in a groove cut into the mortar joint, folded down over the step flashing, and sealed at the reglet. Some builders skip that step and simply run a bead of caulk where the metal meets the brick, a shortcut that fails within a few years in this climate. If you can see a hard gray line of old sealant instead of metal set into the mortar, the system was compromised from day one. Missing sections are just as serious, since hail and wind can peel a piece of counter flashing away entirely. When the counter flashing is gone, the step flashing beneath it is fully exposed to the weather it was never designed to face alone. Need a full assessment of your roof system? Click here for our roofing services.
Tar Patches and Old Caulk Hiding Failing Chimney Flashing
Black roof cement smeared around a chimney is one of the clearest signs of a repair that was never really a repair. Tar is a temporary patch, and in Texas heat it fails faster than almost anywhere else in the country. It cures hard, loses flexibility, and then cracks the first time the metal underneath expands on a hot afternoon. Those cracks are usually thin enough to be invisible from the ground but wide enough to admit gallons of water during a downpour. Worse, the tar traps moisture against the metal and speeds up corrosion in the exact spot it was supposed to protect. Contractors chasing a cheap fix often reapply tar over the old layer instead of removing it, which builds a brittle crust that hides real damage. Any chimney with visible tar buildup deserves a closer look at what is going on beneath it.
Silicone and polyurethane caulk have the same short lifespan when used as the primary defense. Sealant is meant to supplement properly installed metal, not replace it, and ultraviolet exposure breaks down most products within three to five years on a south facing slope. Dried caulk shrinks, pulls away from the brick, and leaves a channel that funnels water directly into the joint. You can test suspect caulk lines from a ladder by pressing gently with a fingertip; healthy sealant feels flexible, while failed sealant feels chalky and crumbles. Some homeowners find they can lift entire strips of old caulk off the masonry by hand. That is a clear sign the chimney has been relying on a consumable product instead of a permanent flashing system.
Patch layering also masks the real condition of the shingles around the chimney. Water that gets past bad flashing saturates the shingle edges and the underlayment, and those materials lose their granules and their integrity long before they look damaged. When a roofer pulls a tarred section apart, they frequently find spongy decking, rusted nails, and underlayment that tears like wet paper. Repairs at that stage require replacing sheathing rather than simply reflashing the chimney. Catching the problem while the tar is still cracking, rather than after the ceiling stains appear, keeps the job small. A short inspection now is far cheaper than a decking and drywall project later.
How to Inspect Chimney Flashing Without Damaging Your Roof
You do not need to climb onto your roof to learn a great deal about the condition of your chimney flashing. Walking on shingles causes scuffing and granule loss, and in the heat of a Texas August the asphalt is soft enough that footsteps leave permanent marks. Composite shingles are especially vulnerable when surface temperatures rise, and a single trip across the slope can shorten their service life. There are three safe checkpoints that give you most of the information you need: the view from the ground, the view from inside your attic, and a professional inspection when the first two raise questions. Working through them in order keeps you safe and keeps your roof intact. It also gives you clear, specific details to share with a contractor, which speeds up any repair estimate.
A Ground Level Chimney Flashing Inspection You Can Do Safely
Start with a pair of binoculars and a slow walk around the perimeter of your house. Position yourself far enough back that you can see where the chimney meets the roof plane on every side, and take photos with your phone zoomed in if you can. You are looking for metal that sits flat and continuous against the brick, with clean lines and no visible daylight at the seams. Rippled edges, curled corners, and sections that appear to stand off the masonry all suggest the fasteners or the mortar joint have let go. Check the low side of the chimney where the apron flashing sits, since debris collects there and holds moisture against the metal. Then check the high side for a cricket, the small peaked structure that splits water around the chimney. Building code requires a cricket or saddle on chimneys wider than thirty inches where they meet the roof slope, and its absence on a wide chimney is a significant red flag.
Next, look at the shingles immediately surrounding the chimney and compare them to the rest of that slope. Shingles near a failing flashing joint often look darker, show heavy granule loss, or sit unevenly because the decking beneath has swelled. Small piles of granules in the gutter directly downslope from the chimney point to the same problem. Take note of any moss or dark organic growth, which thrives where water lingers instead of draining. Debris dams matter too, since leaves and twigs that collect behind a chimney trap water against the flashing for days after a storm. Clogged gutters make this worse by backing water up the slope during heavy rain. Dealing with drainage problems around the chimney is often half the battle. Water backing up along your roof edge? Click here for our gutter services.
Finish the exterior walk by studying the chimney structure above the roof line. The crown, which is the concrete cap on top of a masonry chimney, should slope outward and be free of cracks. A cracked crown lets water into the chimney core, and that water eventually finds its way down to the flashing joint from the inside. Check that a metal chimney cap covers the flue opening, since an open flue admits rain directly into the firebox and mimics a flashing leak. Look for spalling brick, where faces have flaked off and left rough craters, and for mortar joints that have receded or turned sandy. Any of these conditions can undermine the reglet that holds counter flashing in place. A complete picture of the chimney helps a roofer diagnose the source rather than treating a symptom.
The Attic Chimney Flashing Inspection Checklist
Your attic tells the truth about a roof leak better than any exterior view. Pick a bright, dry day, bring a strong flashlight, and step only on the ceiling joists or on secured decking. Find the chimney chase where it passes through the attic and follow it from the ceiling line up toward the roof deck. Turn your flashlight off for a moment and let your eyes adjust, then look for pinpoints of daylight around the chimney penetration. Any visible daylight means an open path for water, and that path will not stay dry through the next storm. Also scan the rafters and decking within a few feet of the chimney for dark streaking that runs downward. Those streaks are the fingerprints of repeat water intrusion even when the wood feels dry at the moment.
Touch matters as much as sight during an attic inspection. Press the decking around the chimney with your fingertips and compare the feel to decking farther away on the same slope. Healthy sheathing is firm and resists pressure, while compromised sheathing feels soft, spongy, or gives slightly under a push. Rusted nail shanks poking through the deck are another reliable clue, since condensation and leaks corrode fasteners from the attic side. Check the insulation directly below the chimney for matting, discoloration, or a damp weight that differs from the surrounding batts. Compressed and stained insulation loses most of its thermal value, which quietly raises your cooling costs through the summer. Photograph anything that looks suspect so you have a clear reference point later.
Timing your attic check right after a rain event gives you the best information. Water intrusion is intermittent, and a leak that soaks the decking during a wind driven storm may leave no trace during a calm shower. Wind direction matters because chimney flashing frequently fails on one specific side, usually the side facing prevailing storms. If you can safely check the attic within a day of a heavy rain, active drips and glossy wet wood are much easier to identify. Note the exact date and the storm conditions, since that information helps enormously with an insurance claim. Repeat the check after two or three separate storms to see if the same area keeps showing moisture. A consistent pattern gives a roofer a strong starting point.
When a Professional Chimney Flashing Inspection Is the Right Call
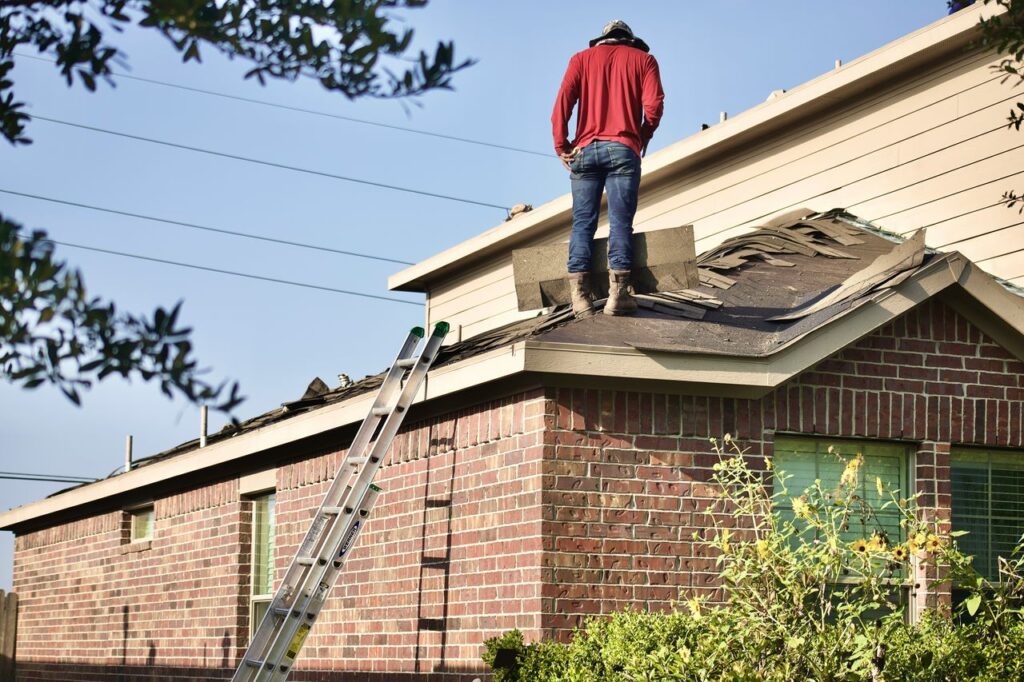
Some situations call for a trained set of eyes rather than another look through binoculars. Steep slopes, two story homes, tile or metal roofing, and any roof over fifteen years old are all good reasons to schedule a professional inspection instead of climbing up yourself. Roofers carry the equipment to work safely at height and know how to lift shingle courses without breaking the seal strip. They can also determine quickly if the step flashing was woven correctly during the original installation, something impossible to verify from the ground. Improper installation is more common than most homeowners expect, especially on homes where a reroof was done without replacing the flashing. Reusing old flashing on a new roof is a shortcut that shows up as a leak within a few years.
A professional inspection also separates flashing failure from the other problems that mimic it. A cracked chimney crown, a missing rain cap, deteriorated brick, a failing plumbing boot nearby, or a poorly sealed sidewall junction can all produce the exact same ceiling stain. Fixing the wrong item costs money and leaves the actual leak running. Experienced roofers trace water paths by looking at staining patterns on the decking and rafters, working upslope from the wet spot to the true entry point. That process takes practice and a familiarity with how water behaves inside a roof assembly. It is the difference between a repair that holds and a repair you revisit next spring.
Documentation is the other major benefit of a professional visit. A written inspection report with photographs establishes the condition of your roof at a specific date, which becomes valuable if a hail or wind event follows. Insurance adjusters respond much better to dated evidence than to a homeowner’s recollection. A report also lets you plan and budget rather than react, especially if the flashing has life left but the surrounding shingles are approaching the end of theirs. Sometimes the smart move is reflashing now and planning a full replacement in a year or two. Sometimes it is doing both at once and saving on labor. Living in the area and want details for your city? Click here for our Bedford roofing information.
Why You Need Chimney Flashing Repair Before the Fall Rain Season
North Texas gets a meaningful shift in weather as summer breaks, and October and November regularly bring the kind of sustained, soaking rain that finds every weak point in a roof. Flashing that survived a dry summer can leak the first time water runs against it for hours instead of minutes. Repairs are also easier to schedule now than in the middle of storm season, when every roofing crew in the Metroplex is booked out. Small flashing repairs are among the most affordable roof work you can have done, and they protect thousands of dollars in structure, insulation, and finishes. Waiting rarely saves money, since water damage compounds quietly and rot spreads through decking faster than most homeowners expect. Getting ahead of the season is simply the cheaper path.
What Delayed Chimney Flashing Repair Costs You
A small flashing leak rarely stays small. Water that gets past the metal soaks the underlayment, wicks into the roof deck, and travels along rafters until it finds a low point. Plywood and oriented strand board lose structural strength once they stay damp, and delaminated sheathing has to be cut out and replaced rather than dried. What began as a metal repair turns into carpentry, and carpentry means a much larger crew and a much larger invoice. Insulation soaked by the same leak stops performing and often needs removal.
Mold is the second cost, and it is the one that reaches beyond the roof. Attic spaces in Texas run hot and humid, and consistently damp wood provides the conditions mold needs to establish itself. Once growth spreads across decking and framing, remediation becomes a specialized job with its own price tag. Air moving through the attic can carry spores into living space through recessed lights and ceiling penetrations. Families with allergies or asthma often notice symptoms before they notice a stain.
Finishes take the final hit. Stained ceilings need sealing and repainting, warped trim needs replacement, and hardwood near a fireplace can cup or buckle when it absorbs moisture. Repeated leaks also damage the firebox and the chimney structure itself, sometimes requiring masonry work. None of these costs would exist if the flashing had been addressed while the problem was still a piece of metal and a mortar joint. That is the honest math behind acting early.

How Storm Damage Affects Chimney Flashing and Insurance Claims
Hail and wind do specific, identifiable damage to chimney flashing, and that damage often qualifies for coverage. Hailstones dent metal, break sealant lines, and crease flashing so it no longer sits flush against masonry. Straight line winds can lift and peel counter flashing right out of its mortar groove. Adjusters look for these markers alongside shingle damage, and flashing is frequently included in an approved claim scope when it is documented properly. Homeowners who never mention the chimney often end up with a repair that leaves the leak in place.
Timing and documentation drive claim outcomes more than anything else. Most Texas policies require prompt notice after a storm, and older damage can be denied as wear and tear. Photographs taken before and after an event, plus a dated inspection report, make the difference between an approved and a denied claim. Keeping records of past maintenance also helps demonstrate the roof was cared for.
Working with a contractor who handles claims regularly removes most of the friction. An experienced roofer knows which line items belong in a scope, how to present flashing damage clearly, and how to meet the adjuster on site. That advocacy matters when the adjuster is moving through dozens of properties a week. It also protects you from paying out of pocket for damage your policy already covers.
Why Choose TM Roofing & Construction Group for Chimney Flashing Repair
TM Roofing & Construction Group is locally owned and operated out of Bedford, and we treat every home the way we would treat our own. More than 600 Facebook reviews and BBB accreditation back up the way we work, and that reputation was earned one roof at a time across Colleyville, Southlake, Keller, Grapevine, Irving, and the rest of the Metroplex. We install flashing systems correctly the first time, with counter flashing set into the masonry rather than caulked to the surface. Our work is covered by lifetime manufacturer warranties and a 10 year workmanship guarantee.
We are insurance claim specialists, and we put $500 toward your deductible when we handle your claim. Our team is available 24/7, estimates are free, and flexible financing is available for larger projects. That combination means a failing chimney flashing does not have to wait for a better month in your budget. We will tell you honestly if the metal simply needs replacing or if the surrounding roof section has reached the end of its life.
Getting an answer starts with a phone call and a free inspection. We will document what we find, explain the options in plain terms, and give you a clear price with no pressure. Protecting your home from the fall rain season is a straightforward job when it is handled before the water gets in. Call TM Roofing & Construction Group at (817) 820-9596 to schedule your free chimney flashing inspection today.